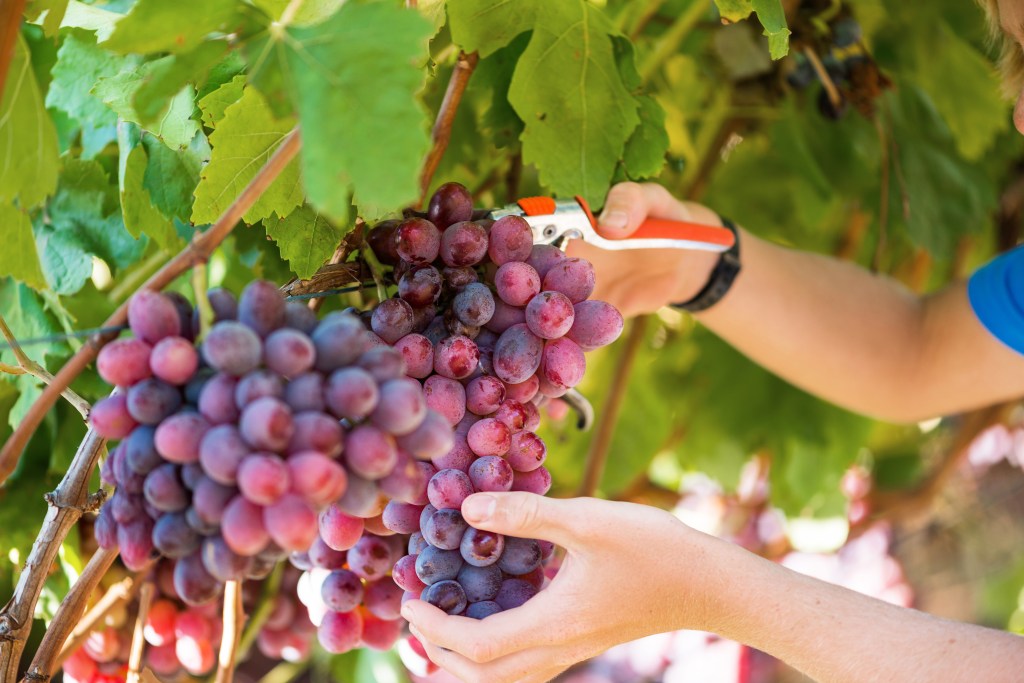
If you want your grape vines to produce big, juicy clusters next season, fall pruning is one of the most important steps you can take. Pruning is more than just cutting back growth — it’s how you shape your vines for better sunlight exposure, healthier air circulation, and stronger fruiting wood.
Whether you’re managing a backyard trellis or a small vineyard, understanding how to prune properly will reward you with sweeter, fuller grape bunches and a healthier vine overall.
Let’s dive into why fall pruning is so beneficial, how to do it step-by-step, and why Ty Ty Plant Nursery is your best source for high-quality grape vines.
🍂 Why Fall Is the Best Time to Prune Grape Vines
Pruning can be done at different times of the year, but fall is ideal for shaping your grape vines for next season’s harvest. Here’s why:
1. The Vines Are Entering Dormancy
After harvest, grape vines naturally start to slow their growth. The leaves begin to yellow and fall, and the plant enters a resting phase for the winter. Pruning at this time allows you to remove unnecessary growth without putting stress on the plant since energy is no longer going into producing fruit or leaves.
2. Easier to See the Structure
Once the leaves have fallen, it’s much easier to see the vine’s shape. You can clearly identify the main canes, fruiting spurs, and overcrowded areas that need trimming. This makes pruning more efficient and precise.
3. Prevents Disease Before Winter
Grape vines are prone to fungal diseases such as powdery mildew and black rot, which can overwinter on dead leaves and old wood. Pruning out diseased or dead sections in the fall removes potential infection sources and reduces disease pressure in spring.
4. Encourages Stronger Growth Next Year
When you prune in fall, you’re setting the framework for next season’s fruiting wood. Proper pruning helps direct the plant’s stored energy into fewer, stronger canes that will bear fruit — rather than wasting it on weak, unproductive shoots.
✂️ How to Prune Grape Vines in Fall: Step-by-Step
Fall pruning is all about cleaning up old growth and setting up new canes for future fruit production. Most grape vines benefit from what’s called spur pruning or cane pruning, depending on the type of grape and trellis system you’re using.
Below is a step-by-step process that works for most bunch grape vines.
Step 1: Gather Your Tools
Before you begin, make sure you have the right equipment:
- Sharp bypass pruners for small branches
- Loppers for thicker wood
- A pruning saw for old or heavy canes
- Gloves to protect your hands from rough bark or thorns
Clean your tools with rubbing alcohol or bleach solution before and after pruning to avoid spreading disease between plants.
Step 2: Identify the Main Structure
Start by identifying the main parts of your vine:
- Trunk: The permanent, vertical structure of the vine.
- Cordon: The main horizontal arms that extend from the trunk (if you’re using a wire or trellis).
- Canes: The long shoots that grew this season.
- Spurs: Short, stubby growths from older wood where new canes will grow next year.
Understanding these parts helps you make precise cuts and maintain a balanced structure.
Step 3: Remove the “Three D’s” — Dead, Damaged, and Diseased Wood
The first step in pruning any grapevine is to remove the unhealthy parts. Look for:
- Dead wood that snaps easily or looks gray and lifeless.
- Damaged canes that were broken by wind or fruit weight.
- Diseased areas that appear blackened, moldy, or swollen.
Removing these sections improves airflow and prevents disease from spreading next season.
Step 4: Open the Canopy for Air and Sunlight
A dense grape canopy traps moisture and limits light penetration, which can reduce fruit quality and increase the risk of fungus. Thinning out excess growth opens up the vine and allows better air and sunlight circulation.
Here’s how:
- Cut out crossing branches that rub together.
- Remove crowded shoots that shade each other.
- Keep only the strongest, healthiest canes evenly spaced along the trellis.
A good rule of thumb: you should be able to see sunlight filtering through the vine at midday.
Step 5: Prune to Support Future Fruit Sets
Grapes produce fruit on one-year-old wood—the canes that grew during the last season. These canes will sprout new shoots next year, which will bear the grape clusters.
To maximize fruiting:
- Choose 4–6 of the strongest, healthiest canes near the base of the vine.
- Cut these canes back to about 8–10 buds each (each bud will produce a new fruiting shoot).
- Remove all other canes to reduce crowding and direct energy to your chosen fruiting wood.
Each year, you’ll replace these canes with new ones that grow from spurs left closer to the trunk. This cycle keeps your vine young, productive, and balanced.
Step 6: Control the Length and Shape
Fall pruning is the time to keep your vines tidy and manageable.
- For trellised vines: Train two main arms (cordons) along your wire or trellis. Cut back any excess growth that extends beyond your structure.
- For free-standing vines: Shape your vine like a small tree, keeping 3–4 main scaffold branches that fan out evenly.
Always make your cuts just above a bud, angling slightly so water doesn’t pool on the wound.
Step 7: Clean the Base and Remove Suckers
Suckers are unwanted shoots that grow from the base of the trunk or below the graft union. These draw energy away from your productive canes and should be removed completely.
Keep the base clean and mulch lightly to retain soil moisture and prevent weeds from taking hold.
🌬️ The Benefits of Fall Pruning Grape Vines
When you’re done, your grape vine should look clean, balanced, and open. Fall pruning provides several long-term benefits:
- Improved air flow: Reduces humidity and fungal diseases like powdery mildew.
- Better sunlight exposure: Helps buds develop evenly for next year’s fruit.
- Stronger fruiting wood: Directs energy into healthy canes that will bear fruit.
- Easier maintenance: Less tangled growth means easier pruning and harvesting next season.
By pruning in fall, you’re not just cleaning up the vine—you’re preparing it for maximum harvest potential next year.
🪴 Extra Fall Pruning Tips for Grape Vines
- Avoid pruning during wet weather to reduce disease risk.
- Don’t remove more than 80–90% of the vine’s growth; grapes produce best when heavily pruned, but balance is key.
- Always remove old fruit clusters and dead leaves to prevent overwintering pests.
- Apply a balanced fertilizer like Nutra Pro First-Year Fertilizer Packs in spring to encourage healthy new growth.
With consistent pruning and proper care, even a small backyard trellis can produce several pounds of grapes each season.
🌳 Ready to Buy Grape Vines?
If you’re expanding your vineyard or starting from scratch, get your grape vines from a trusted source. The best place to buy is Ty Ty Plant Nursery, LLC.
Here’s why growers across the country choose Ty Ty:
✅ Best prices on premium bare root grape vines
✅ Non-GMO, climate-suited varieties for all U.S. growing zones
✅ Fast, safe shipping so your plants arrive fresh and ready to thrive
✅ Free 1-Year Plantsurance™ Guarantee – store credit if your vine doesn’t survive 🛡️
At Ty Ty, planting grape vines is zero stress and all success. You’ll find a wide variety of bunch grapes—red, green, and black—that are perfect for home growers or commercial vineyards.
🍇 Final Thoughts
Fall pruning is one of the best things you can do for your grape vines. By shaping your plants after harvest, you’re improving sunlight exposure, airflow, and fruiting wood for the next season. It also helps prevent disease and keeps your vines strong for years to come.
With just a few careful cuts this fall, you’ll be rewarded next summer with plump, sweet bunches of grapes ready for eating fresh, drying into raisins, or even making wine.
Start your vineyard the right way — shop for premium bare root grape vines at Ty Ty Plant Nursery, LLC, where you’ll get high-quality plants, fast shipping, and the best prices in the industry.

Leave a comment