Fresh olives straight from your own tree bring a sense of pride that store-bought options just can’t match. If you’ve got an olive tree or plan to plant one, you’re already on the path toward a rewarding harvest. With the right approach, you can turn those firm, bitter fruits into something rich, savory, and ready for the table.
Learning how to harvest and cure your own olives at home is easier than you might expect. This guide walks you through each step in a clear, relaxed way so you feel confident from start to finish. Stick with it, try a batch, and enjoy the full experience from tree to plate.
Understanding When Olives Are Ready
Olives don’t all ripen at the same time, and that adds a bit of charm to the process. Some fruits stay green, while others deepen into purple or black tones. Green olives offer a firmer texture and a sharper taste. Darker ones lean toward a softer bite with a richer flavor.
Take a close look at your tree as the season moves along. Early fall usually brings the first signs of ripeness, though climate plays a role. A gentle squeeze tells you a lot. If the fruit feels firm yet slightly soft, it’s ready for harvest.
Picking too early leads to harsh bitterness, while waiting too long may result in fruit that drops or bruises. A balance between color and texture works best. Keep an eye on your tree every few days once ripeness begins to show.
How To Harvest Olives Without Damage
Harvest time feels exciting, though care matters if you want high-quality fruit. Hand picking gives you the best control and keeps olives in great shape. Gently twist or pull each olive from the branch without tearing the skin.
Some growers lay nets or tarps under the tree and shake branches to speed things up. That method works for larger harvests, though it may lead to minor bruises. If you go this route, sort through your olives afterward and remove any damaged pieces.
Place olives into shallow containers instead of deep buckets. Too much weight on top can crush the fruit at the bottom. Think of it like fresh berries; a little care goes a long way.
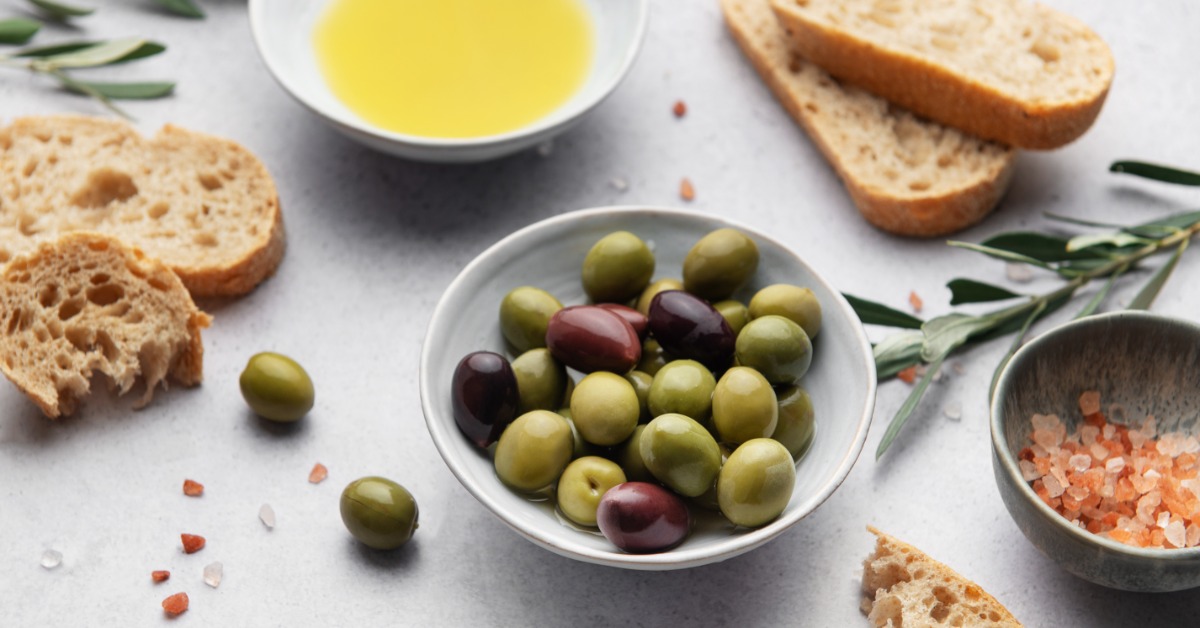
Why Fresh Olives Taste Bitter
Right off the tree, olives carry a strong bitterness that makes them unpleasant to eat. This comes from a natural compound called oleuropein. Curing removes that bitterness and brings out the flavor people love.
Each curing method works toward the same goal, though the path differs. Some use water, others rely on salt or brine. The choice depends on your taste and how much time you want to spend.
Think of curing as a transformation. You start with something sharp and end with a smooth, savory result. That shift makes the effort worthwhile.

Water Curing: A Simple Start
Water curing suits beginners since it uses basic supplies and a clear routine. Start by rinsing your olives to remove dirt or debris. Then place them in a large container filled with fresh water.
Change the water every day. This step helps draw out bitterness over time. After about one to two weeks, taste an olive. If bitterness still feels strong, continue the process for a few more days.
Once the flavor mellows, you can move the olives into a light brine for storage. Add salt, herbs, or citrus peel to build flavor. The result tastes mild, fresh, and slightly nutty. This method works well for green olives in particular. It keeps the texture firm and the taste clean.
Brine Curing for Rich Flavor
Brine curing brings a deeper flavor and a classic olive taste. Start by cracking each olive with a small mallet or pressing tool. This step allows the brine to reach inside the fruit.
Prepare a saltwater solution, then submerge the olives fully. Store the container in a cool, dark place. Over several weeks, the olives absorb the brine and lose their bitterness.
Check the olives from time to time. If the brine turns cloudy, replace it with a fresh batch. Patience pays off here, as flavor builds gradually. At the end of the process, you can add garlic, rosemary, or chili flakes for a personal touch. This method creates olives that pair well with cheeses, breads, or simple snacks.
Dry Salt Curing for a Bold Twist
Dry curing uses coarse salt instead of water or liquid brine. This approach suits darker olives with a higher oil content. Begin by rinsing and drying your olives.
Layer them in a container with plenty of salt. The salt pulls moisture from the fruit and concentrates the flavor. Stir or shake the container every few days to keep things even.
Over a few weeks, the olives shrink and develop a wrinkled look. That texture signals progress. Taste one after about three to four weeks. If bitterness fades, they’re ready.
Rinse off excess salt before serving. A drizzle of olive oil can add a smooth finish. These olives carry a bold, intense flavor that stands out on any table.

Storing Your Finished Olives
Now that you know how to harvest and cure your own olives at home, it’s critical to understand the storage process. After curing wraps up, proper storage keeps your olives fresh and flavorful. Brined olives stay best in their liquid inside a sealed container. Keep them in the fridge and use within a few months.
Dry-cured olives benefit from a light coating of olive oil. Store them in an airtight jar to prevent dryness. They can last several weeks when kept cool.
Label your containers with the date so you can track freshness. Homemade olives don’t contain preservatives, so a little attention helps maintain quality. Sharing a jar with friends or family adds to the experience. Home-cured olives make a thoughtful, unique gift.
Enjoy Your Harvest
Growing, harvesting, and curing olives at home creates a full-circle experience that connects you to your food in a meaningful way. Each step, from the first pick to the final taste, adds to that sense of accomplishment. With a bit of care and a willingness to try, you can turn fresh olives into something truly enjoyable.
If you’ve thought about adding them to your yard, now feels like the right time to browse olive trees for sale. Explore your options, plant your tree, and take that first step toward your own harvest.
Leave a Reply